
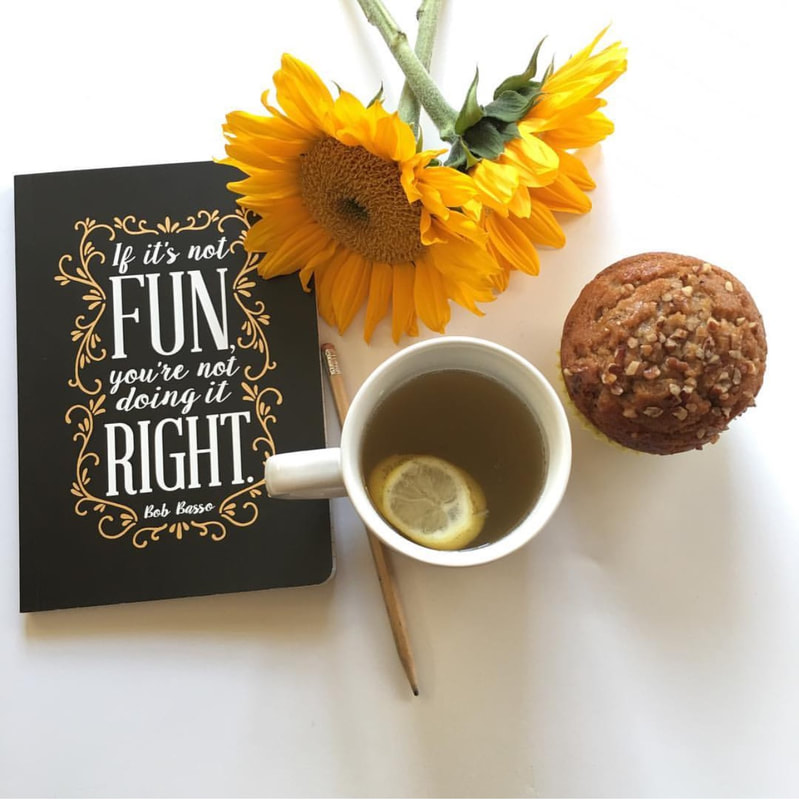
 I get a lot of compliments about my Instagram feed. And people often ask what kind of camera I use. I actually use my iPhone 6S Plus. The camera isn't even the best camera phone on the market (although the Portrait feature on the iPhone 7 is a game changer!) I've just learned some tricks for taking Instagrammable (yeah, that's a word!) photos: 1. LIGHTING, LIGHTING, LIGHTING- Did I mention lighting? Lighting is everything when it comes to taking good photos. Whether you're taking a selfie or a book photo (my fave) you need to make sure your lighting is good. I usually leave my flash off and take photos near my back door because there is a large window nearby that brings in natural light.
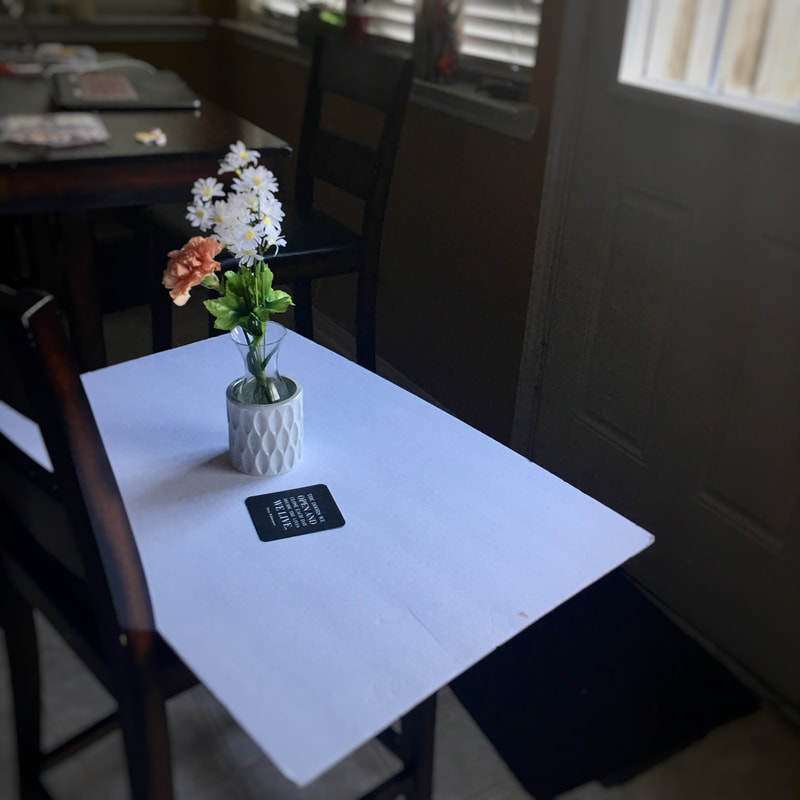
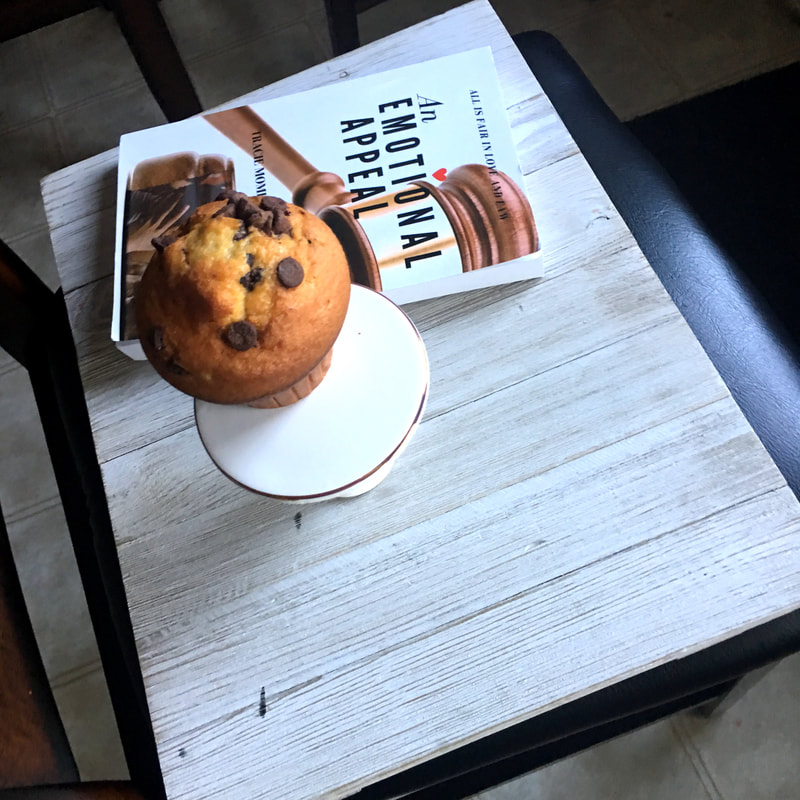
Very Basic Shot to Show My Super Simple Set up! 2. Focus- As a lover of photos my biggest pet peeve is a blurry or grainy picture. Especially if you didn't do it for an artistic reason. Most (if not all) camera phones have a focus feature. You can tap the screen and make sure the focus is on your subject. If you don't have this feature there are several apps that can take over your camera and add this function. My favorite is the Camera+ app. Pictures that are in focus provide more visual interest AND we can actually see what you snapped! 3. Background- If you are doing a prop or product shot or even a selfie be mindful of the background. You don't want something so busy it takes away from your primary subject. I prefer a solid background when I'm taking book photos. I purchased a white foam poster board from the dollar store and I take the majority of my still shots using this background. I also splurged ($7) for a distressed wood plank from Walmart to take photos on as well, mostly food shots.
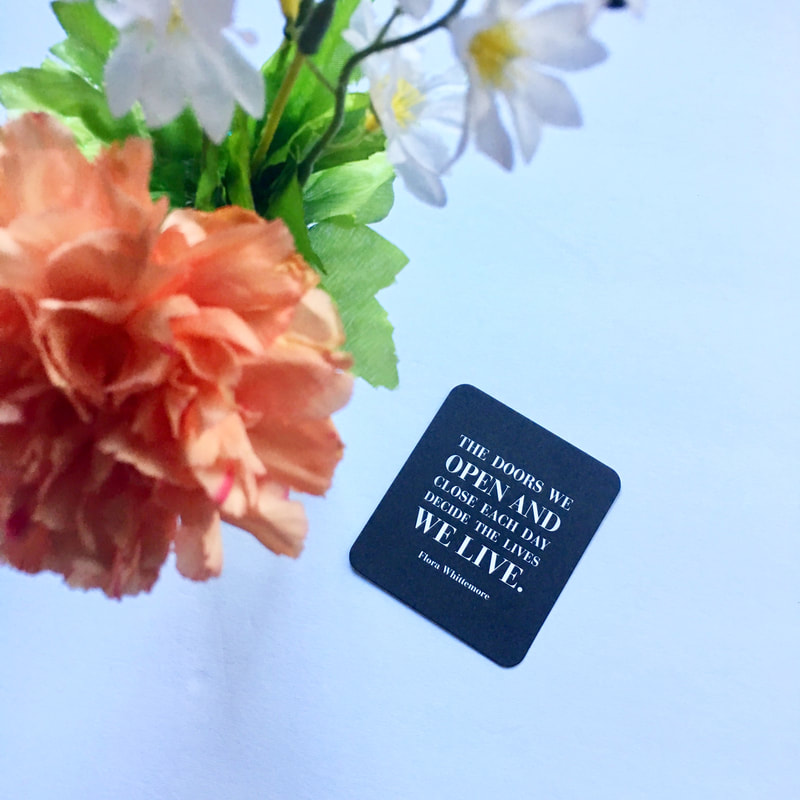
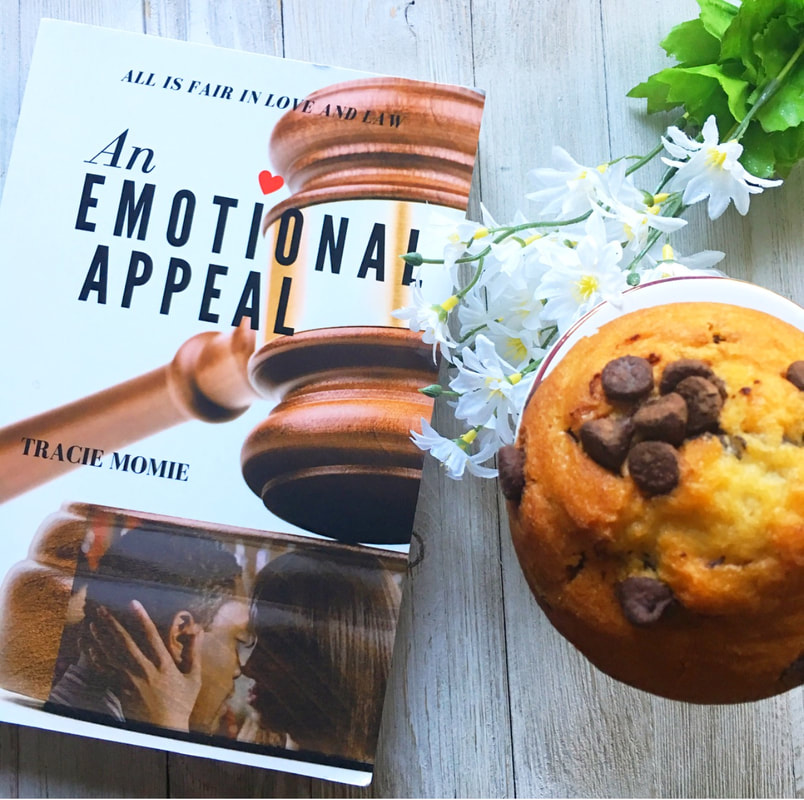
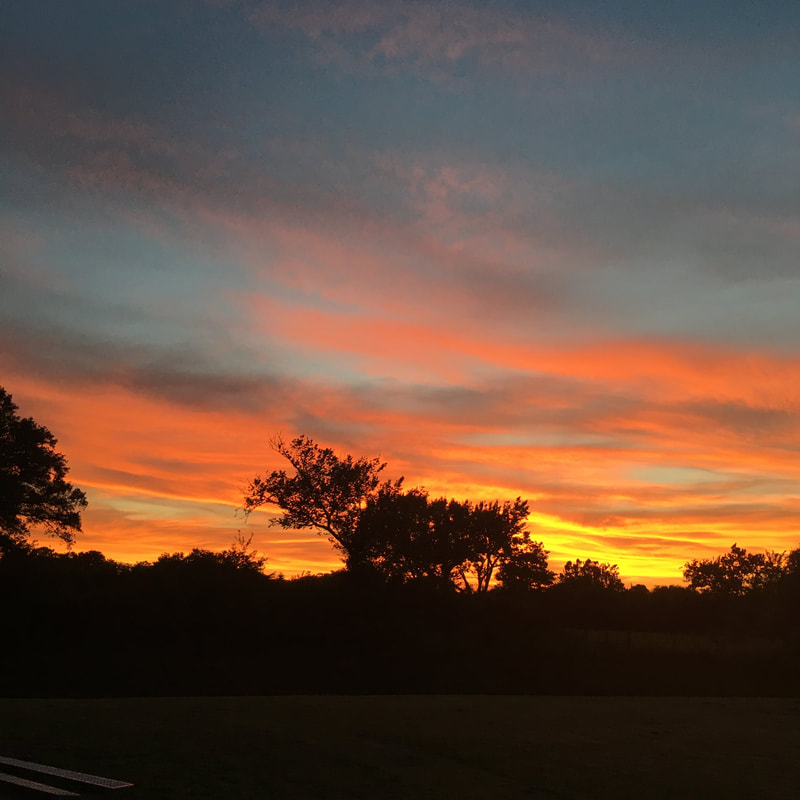
More basic shots just to show my background example 4. Content- Choose something of interest to take a photo of and provide a clever caption. It might seem cheesy or fake to stage a photo but that is what Instagram is all about (to some degree) taking CREATIVE photos. If you want to take a photo of your cup of coffee, add a muffin or book/magazine that you're reading. Light a candle or put a flower in a vase. . .so many options! Check the #proptoit tag on Instagram for inspiration. Or if you just want to capture sunsets or birds or flowers do it in an interesting way- zoom in, zoom out, take the photo off center, blur the background just make it interesting and visually pleasing! (Bonus tip: to get some different ideas for content try a photo challenge like the Fat Mum Slim Photo A Day Challenge #fmspad. It's a month long challenge (every month) with different fun daily prompts!)
5. Edit- I'm not really a big fan of filters. Not unless you plan on using a special filter for ALL of your photos and creating some sort of uniformity for your feed. I've seen this done before and it's pretty cool. However I just like to edit my photos using the Camera+ app. I'll back light them, add or remove shadows, add some clarity and turn up the saturation. Whatever makes the photo pop without looking overdone. What are some of your Insta tips? | Follow me on Instagram @traciemomie 
0 Comments
If you are a blogger or someone who likes sharing quotes or other information online/via social media I would strongly encourage you to start taking your own photos. Here is why: 1. It is technically illegal to pillage through the Internet and use random photo's of images you do not own. 2. Everyone uses the same images over and over from the Internet and even the stock photography sites. 3. Some of the images are horrible. They are pixelated and your message tends to get lost. I know you think you don't have the time or the skill to take your own photo's but you're wrong. Anyone can take a photo especially since most smartphones have built in cameras. Now I will drop a disclaimer here: If you need head shots or product shots, I definitely recommend contacting a professional photographer to maintain some integrity for your brand. But if you just need a background for a quote or to accompany a blog post. . .you got this!
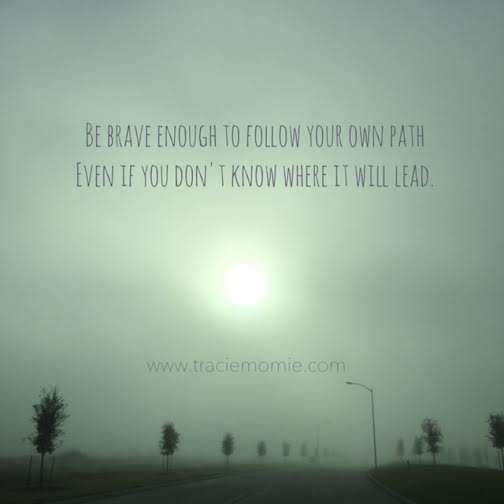
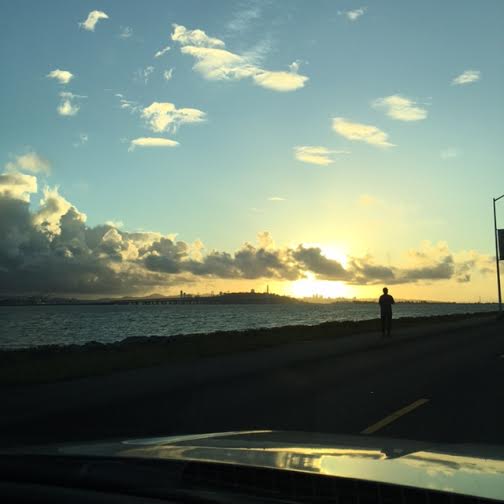
One trick for taking good photo's with your camera phone is a steady hand. If you are shaky then hold down on the screen once you get the image you want, on most phones not only will the light be adjusted but you can lock your target, so that even if you're shaky the image is already in focus. Another trick is using filters. Filters give images a more artistic look and even photo's that aren't that great become more interesting with filters. I would stay away from filters that make the images too colorful sometimes it looks unnatural. There is inspiration all around you. If you see the clouds making an interesting pattern or looking like cotton balls, snap a quick photo filling the frame with nothing but the sky, no light poles or rooftops. Another disclaimer: I am not advocating that you do this while driving. If the sunset is just perfect and you want to capture it, PULL OVER to a safe spot, put the car in park and snap away.
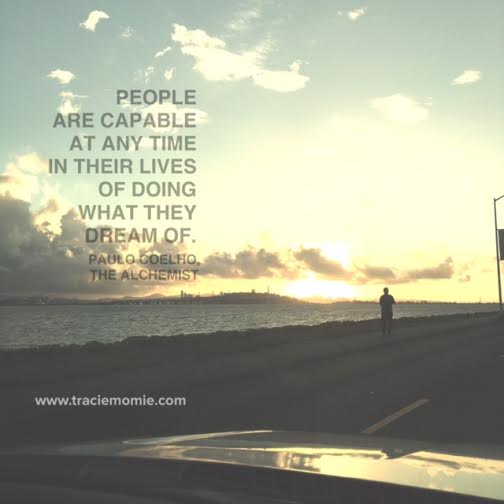
Just take images whenever you can and save them on your phone even if you don't think you need them, you'll be surprised how they can be used. Picture of your kids running and playing but maybe only capture their feet or if the photo is blurred use it! That's a great artistic statement. Even taking photo's of a candle on a table could make a good image. A great phone app to use (for both iOS and Android) for adding text to images, adding clip art and filters all in one is Studio. You can save the images to your phone and them upload them to your blog or social media. If your blog platform doesn't have a phone app, just email the pictures to your self so that you can get them on to your computer. Happy snapping!   Looking good girl! Wait, is that you? Are you selling chairs? Or is that a desk? I'm sure I will upset some people with this post but I'm only doing it because I love you. If you are a business owner or you are trying to build a business or brand, you have got to budget for some higher quality photos. I'm not talking about your profile or personal picture. I'm referring to images of your products and images that you're sharing on your website and social media. It really irritates me when I see awesome, inspiring quotes on a blurry or pixelated image. And then you have the nerve to put your website or logo on said image, really? Or someone who does hair, events or sells accessories using images taken with their camera phone in horrible light. It really makes the product/service look unappealing. Here is a simple rule of thumb: If you are getting a photo printed it should be around 300dpi (dots per inch) if you are using it online it needs to be around 72dpi. Also make sure the orientation of the image works for the platform that you are using. There are a TON of free, quality stock photography images that you can get online. And if you are using photo's of your own products/services then you need to either invest in a good camera or have a professional come out and take photo's for you. I love camera phones just as much as the next person but they are not all created equal and they could be hurting your brand more than helping it.  |


Writer. Reader. Designer. Creative Spirit.

LATEST RELEASE

My Reading List
Visit My Shop for
Cool Tees!
“I would advise anyone who aspires to a writing career that before developing his talent he would be wise to develop a thick hide.”
—Harper Lee 
Book Recommendations
Tribes
BLM Girls

Brown Girl Bloggers
 Archives
November 2017
Categories
All
|


 RSS Feed